Creator Guide

Set up your paid guide without guessing.

A quick walkthrough for turning saved places, Maps lists, photos, and notes into a Pinned guide your audience can preview and buy.

Price it simply

Start near an impulse price, then raise for larger or more specialized guides.

Import the map

Bring in a Google Maps list, then clean up the places that need a human touch.

Show taste fast

Photos and specific notes on the first few places help buyers trust the locked list.

Step by step

From account to first sale.

Step 1

Join the creator beta

Request an invitation, then we’ll help set up your Pinned profile.

  • Pick a handle that matches your social username when possible.
  • Add a clear profile photo and one-line bio that explains your taste.

A memorable handle makes the guide easier to share in bio, stories, and DMs.

See the full walkthrough
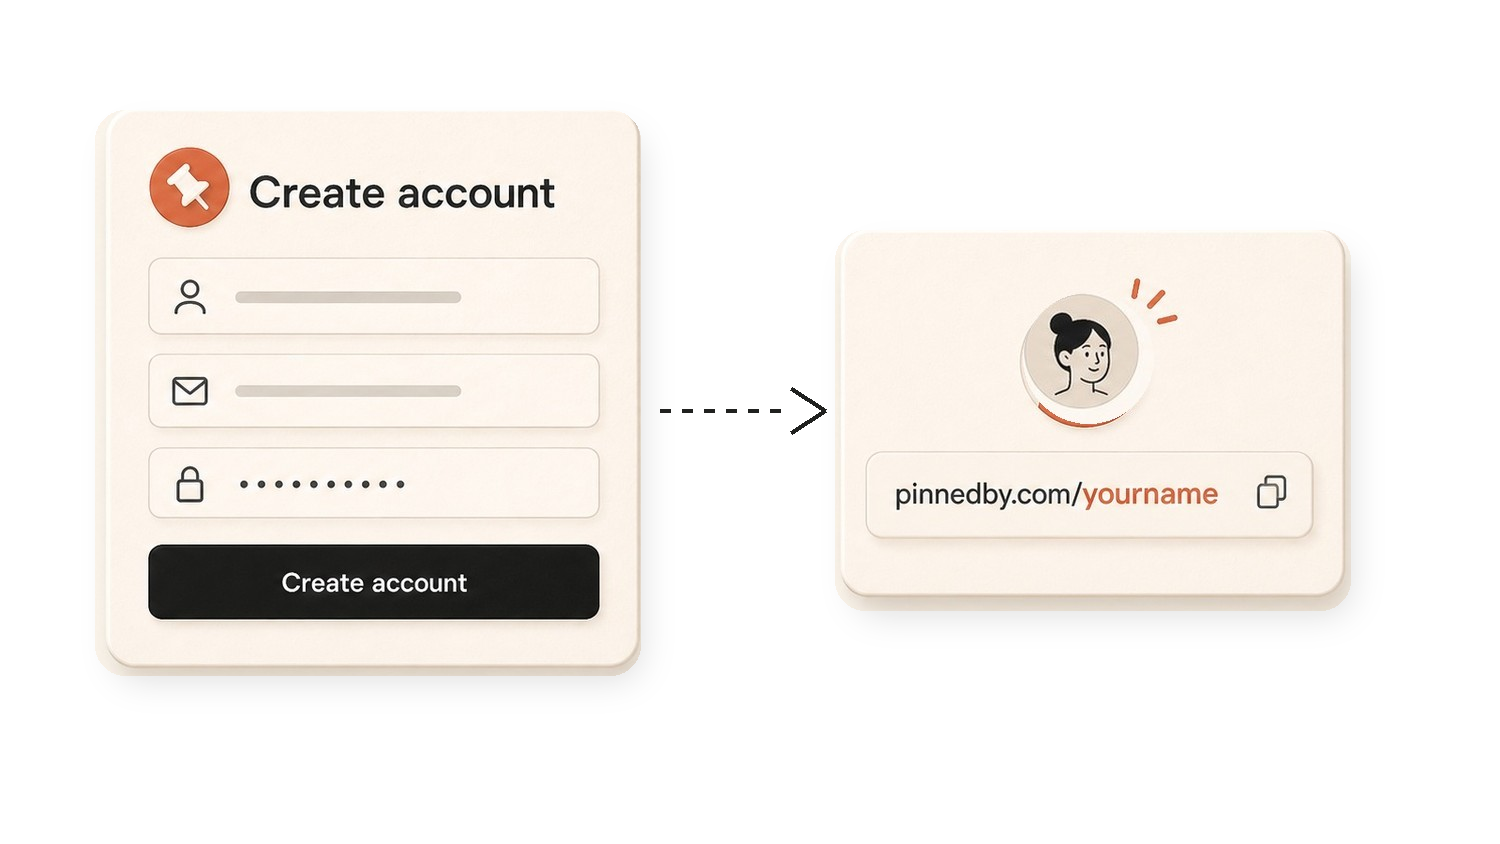
A creator's saved map becoming a paid Pinned guide.
Step 2

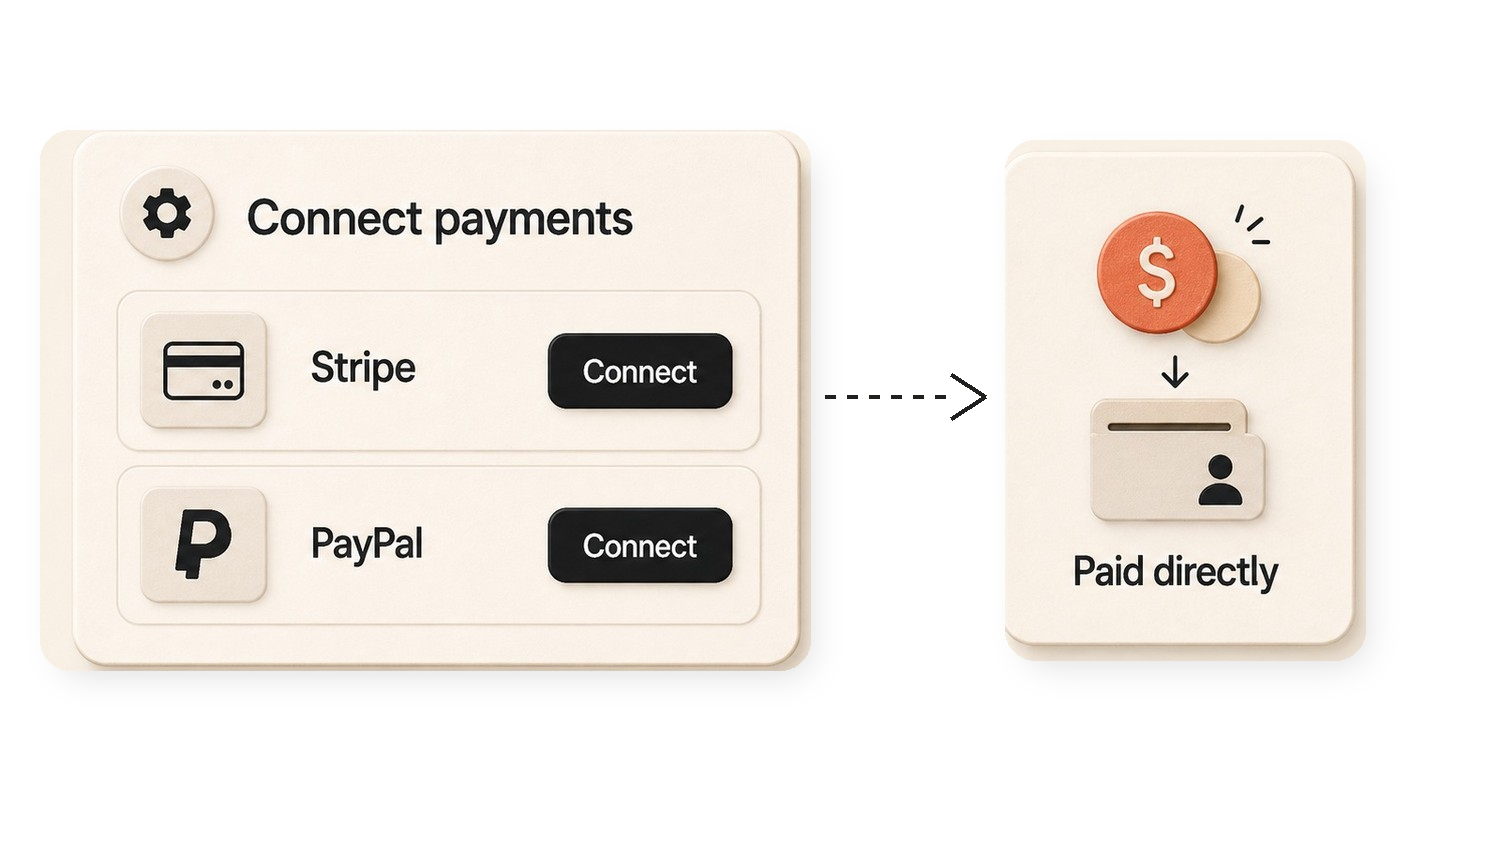
Connect payments

Set up payouts before launch day so buyers can check out the first time they click.

  • Connect Stripe in Settings and finish any pending verification.
  • Add PayPal too if it is available for your account.

Do this early. Payment verification can take longer than writing the guide.

See the full walkthrough
Diagram of payment connection rows leading to direct creator payout.
Step 3

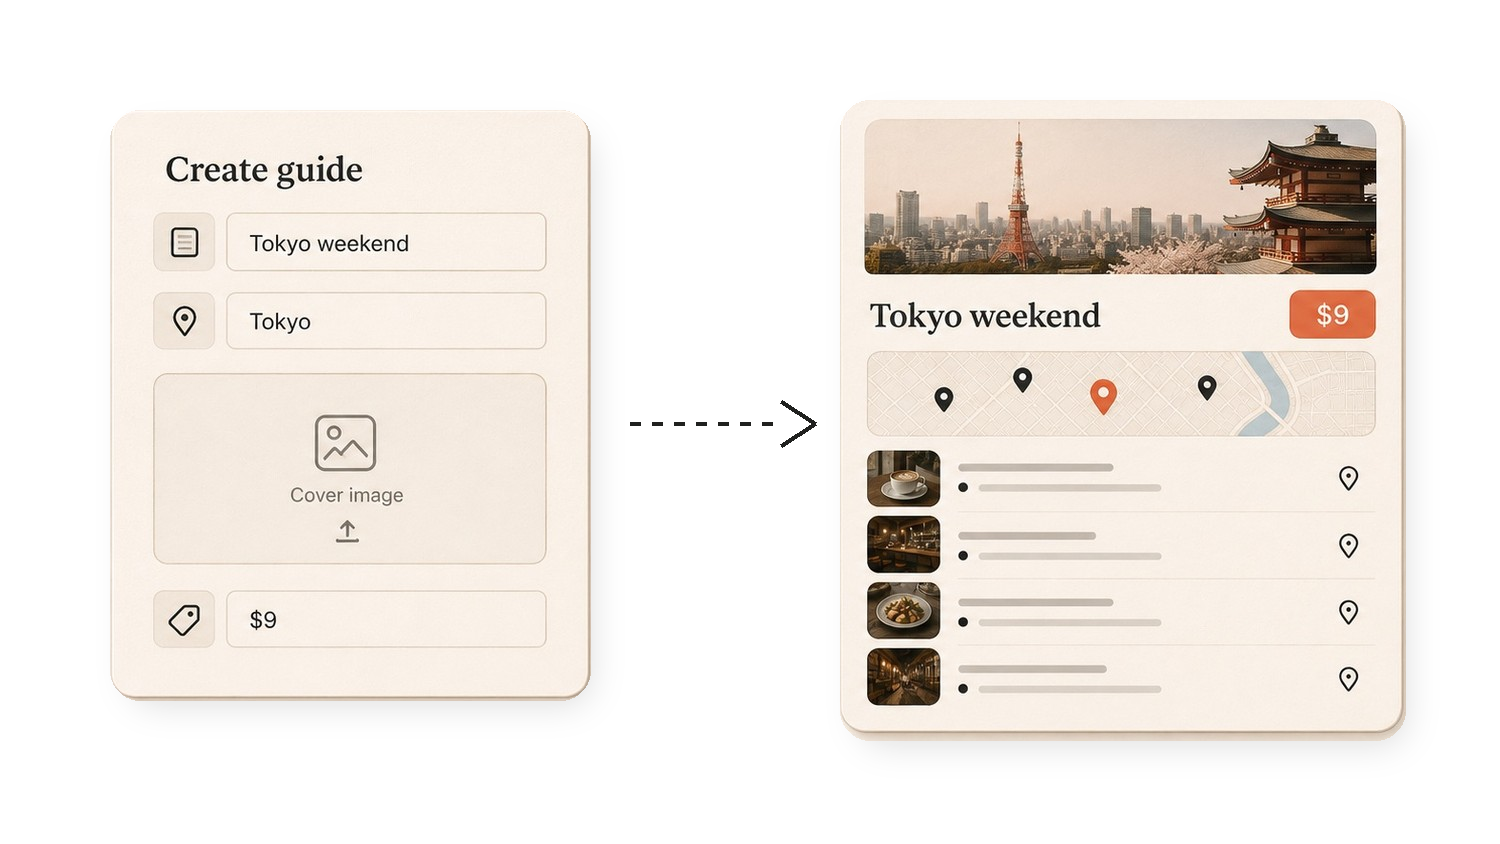
Set the title, summary, and price

Create the guide shell: what it is called, who it helps, what buyers get, and what it costs.

  • Use a specific promise, like a weekend food map or a focused neighborhood route.
  • Start with a simple price. Many focused first guides work well around $5 to $15.

Specific sells better than broad. A clear title and short summary do most of the work.

See the full walkthrough
Diagram of a guide setup form becoming a paid travel guide preview.
Step 4

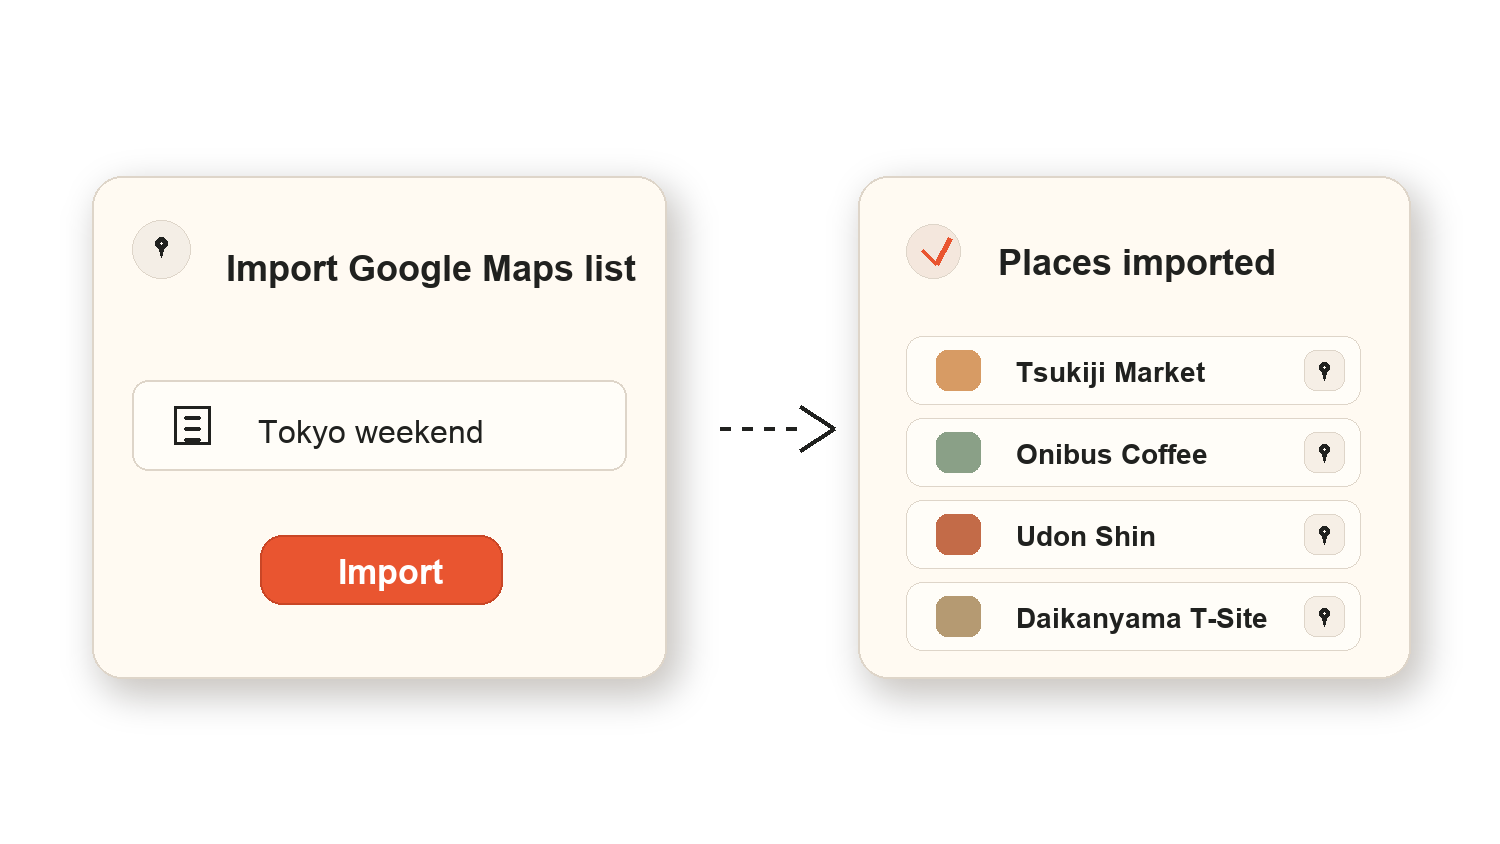
Import your Google Maps list

Import a Google Maps list and Pinned will pull in each place's Maps link, name, city, and category automatically.

  • Review the imported places for duplicates, missing categories, or anything you want to rename.
  • Add creator notes for the real value: what to order, when to go, and booking tips.

The import gets the structure in fast. Your notes turn it into a guide people trust.

See the full walkthrough
Diagram of a Google Maps list import becoming organized guide places.
Step 5

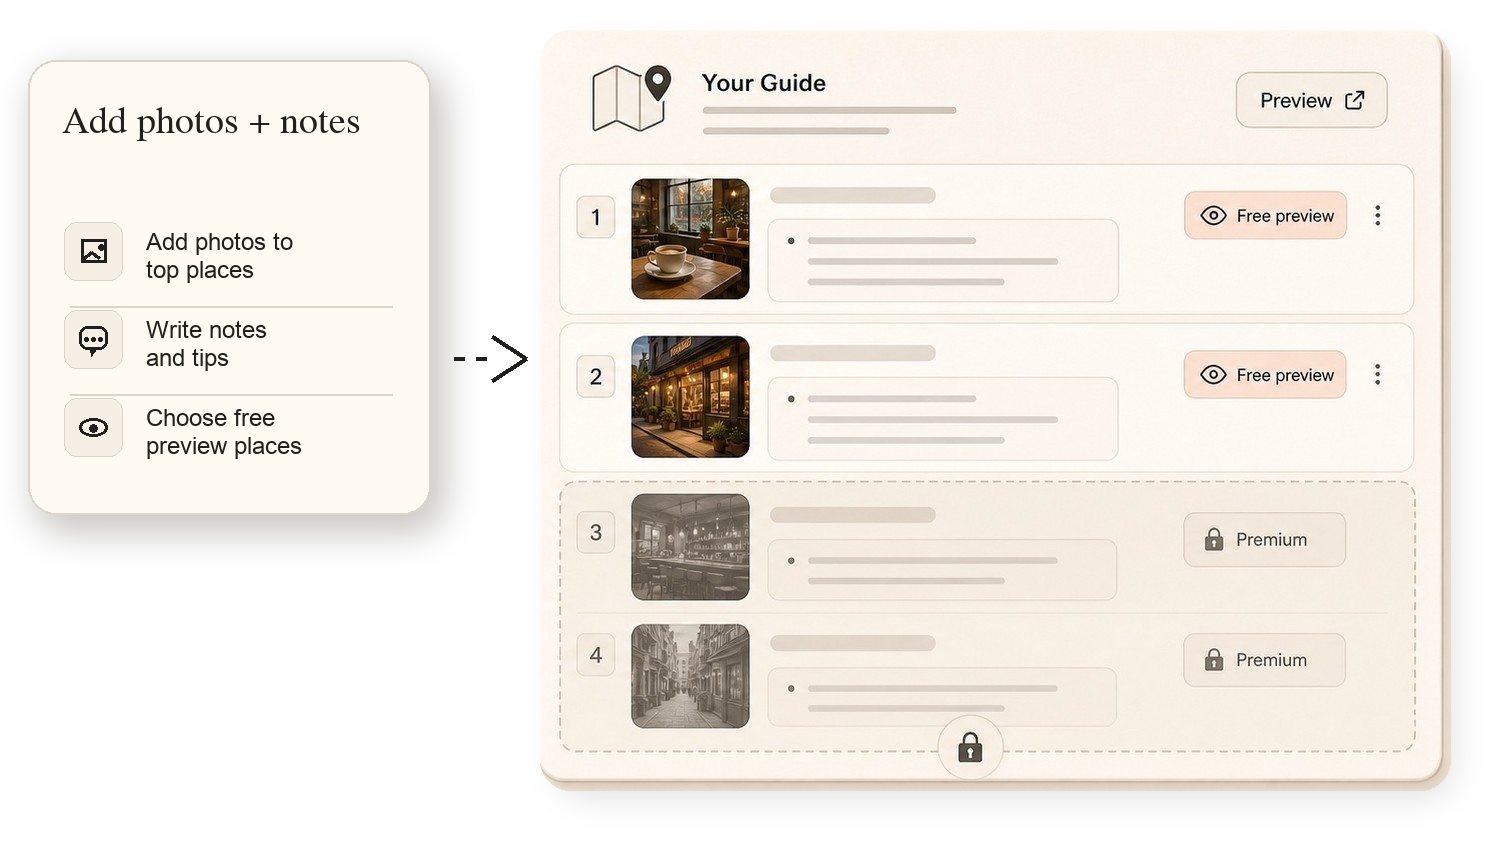
Polish the top places for conversion

Your preview should prove your taste quickly, then make the full guide feel worth unlocking.

  • Add photos to the strongest places first, especially the free preview places.
  • Keep a few useful places open, then save the deeper list and notes for buyers.

Photos improve conversion because buyers can feel the guide before they pay.

See the full walkthrough
Diagram of guide rows with photos, notes, free previews, and premium locked places.
Step 6

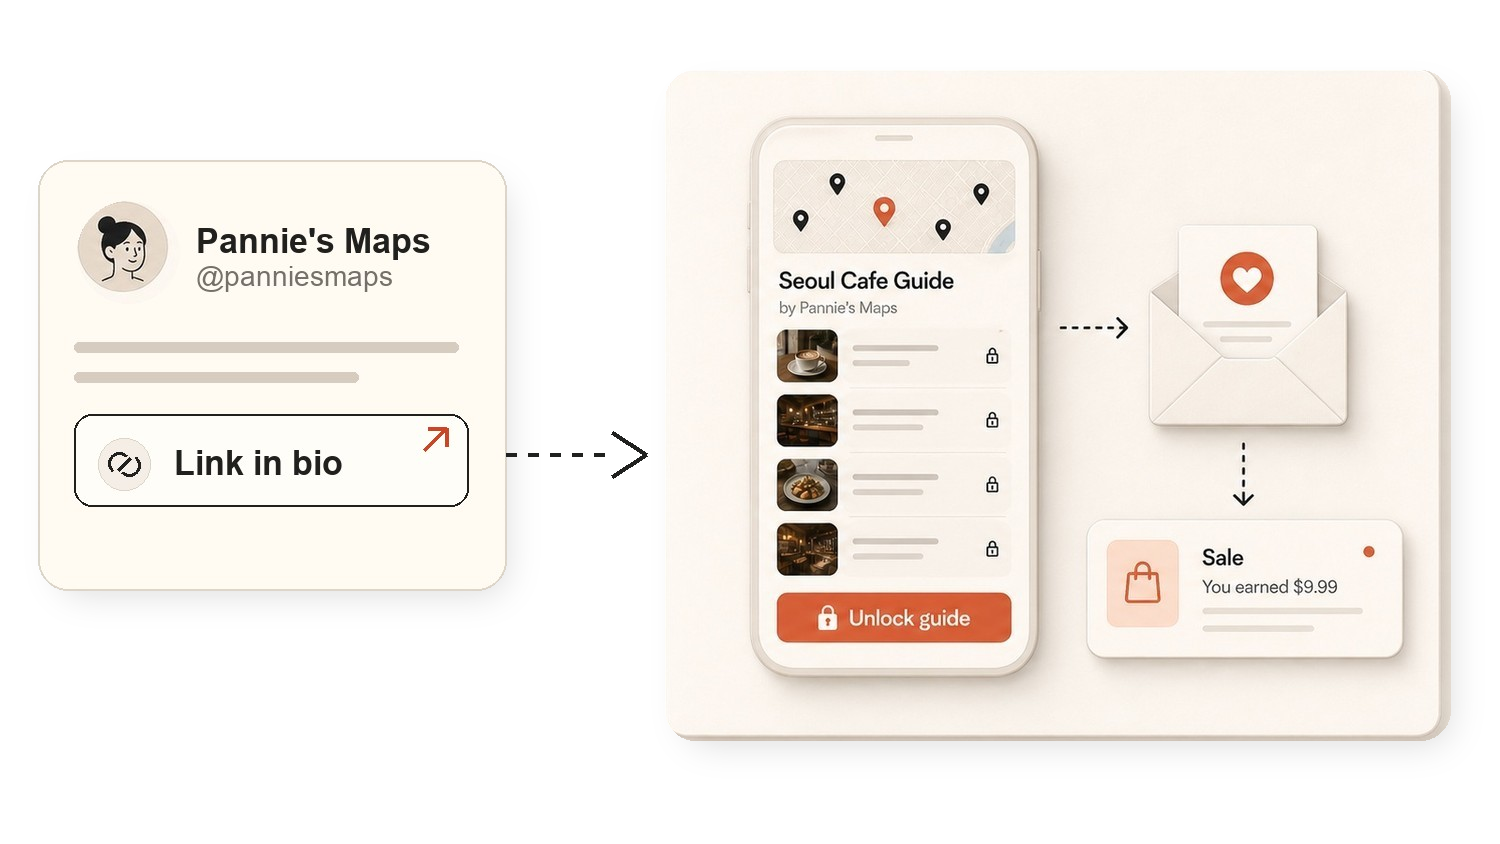
Share the guide

Launch where people already ask you for recommendations: bio, stories, captions, newsletters, and DMs.

  • Put the guide link in bio and pin one post or story explaining who it is for.
  • Show one or two preview places so followers understand the value before buying.

Simple launch copy works: “Preview a few spots free, unlock the full guide for $9.”

See the full walkthrough
Diagram of a creator sharing a guide link, buyers unlocking, and a sale notification.

Launch checklist

Before you put it in bio.

Open the public guide on your phone before sharing. Make sure the preview feels useful and checkout is ready.

Payments connected and checkout tested
Guide title, summary, cover image, and price set
Google Maps list imported and reviewed
Preview places have photos and specific notes
Public preview link opened on mobile before sharing

After launch, use buyer emails for guide updates and your next city or theme. Updates give the guide a reason to stay valuable.