
Create the guide shell
Add the title, city, price, summary, and cover image before adding detailed places.
OutcomeYou have an unpublished draft guide ready for places and notes.
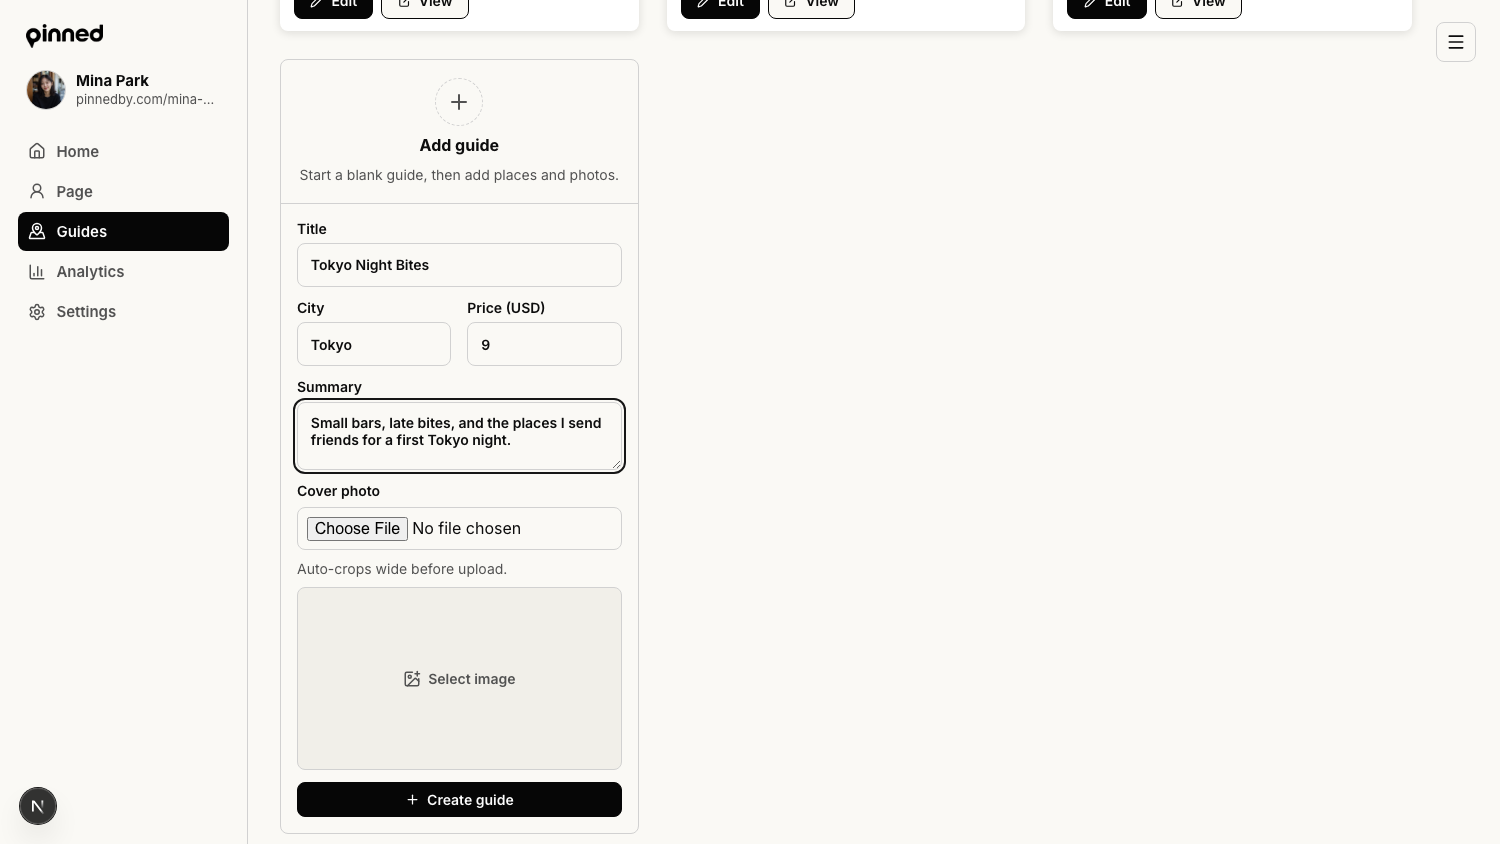
Open the Guides page
The Guides page is your shelf of paid and free products.
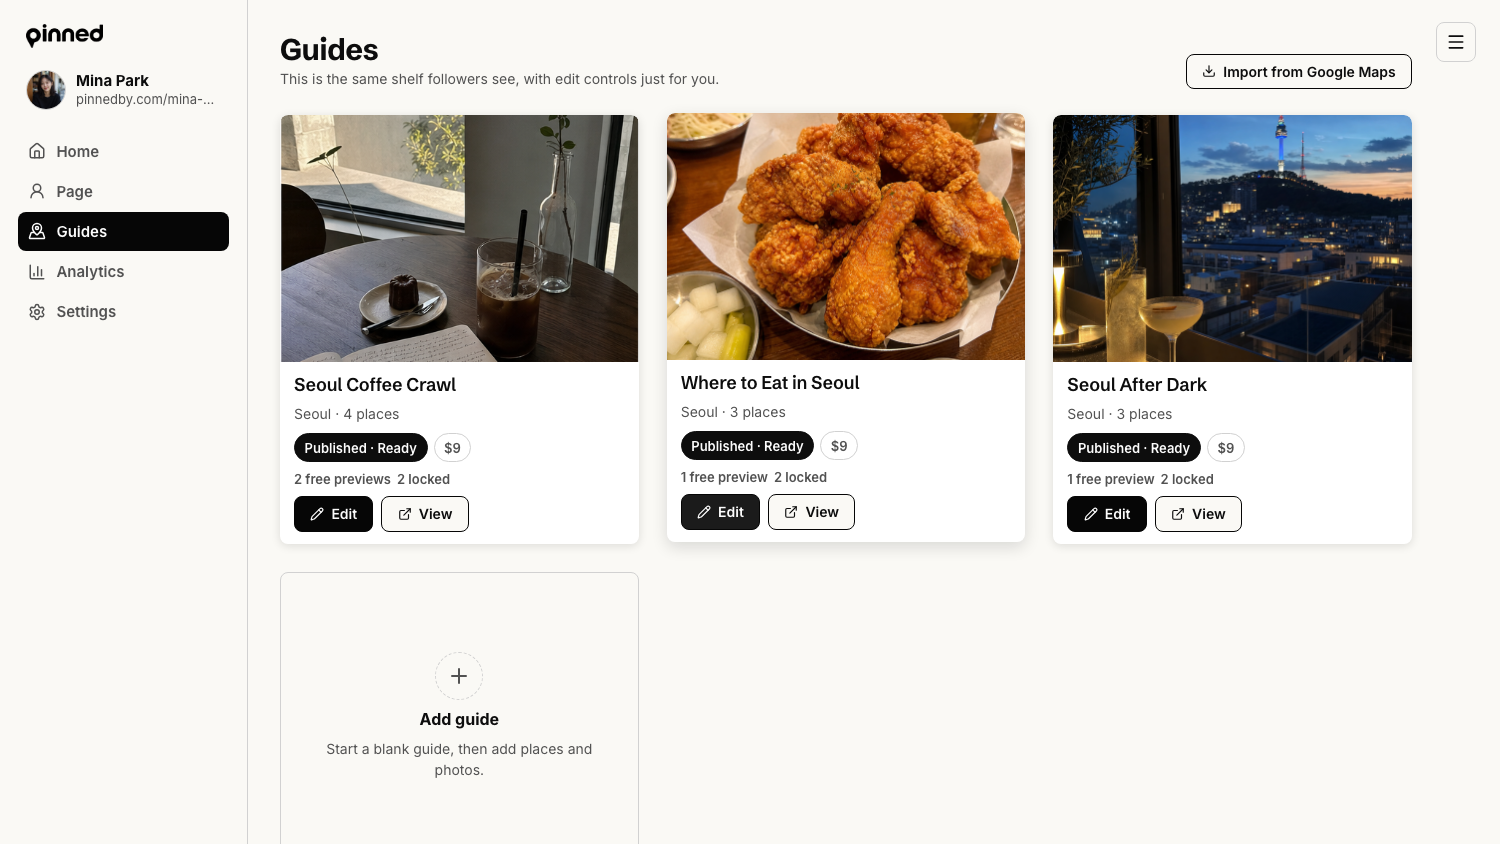
- Open Guides from the creator console sidebar.
- Click Add guide.
- Keep the guide unpublished while you are still editing.
Fill in the guide positioning
Specific guide positioning sells better than a broad city list.
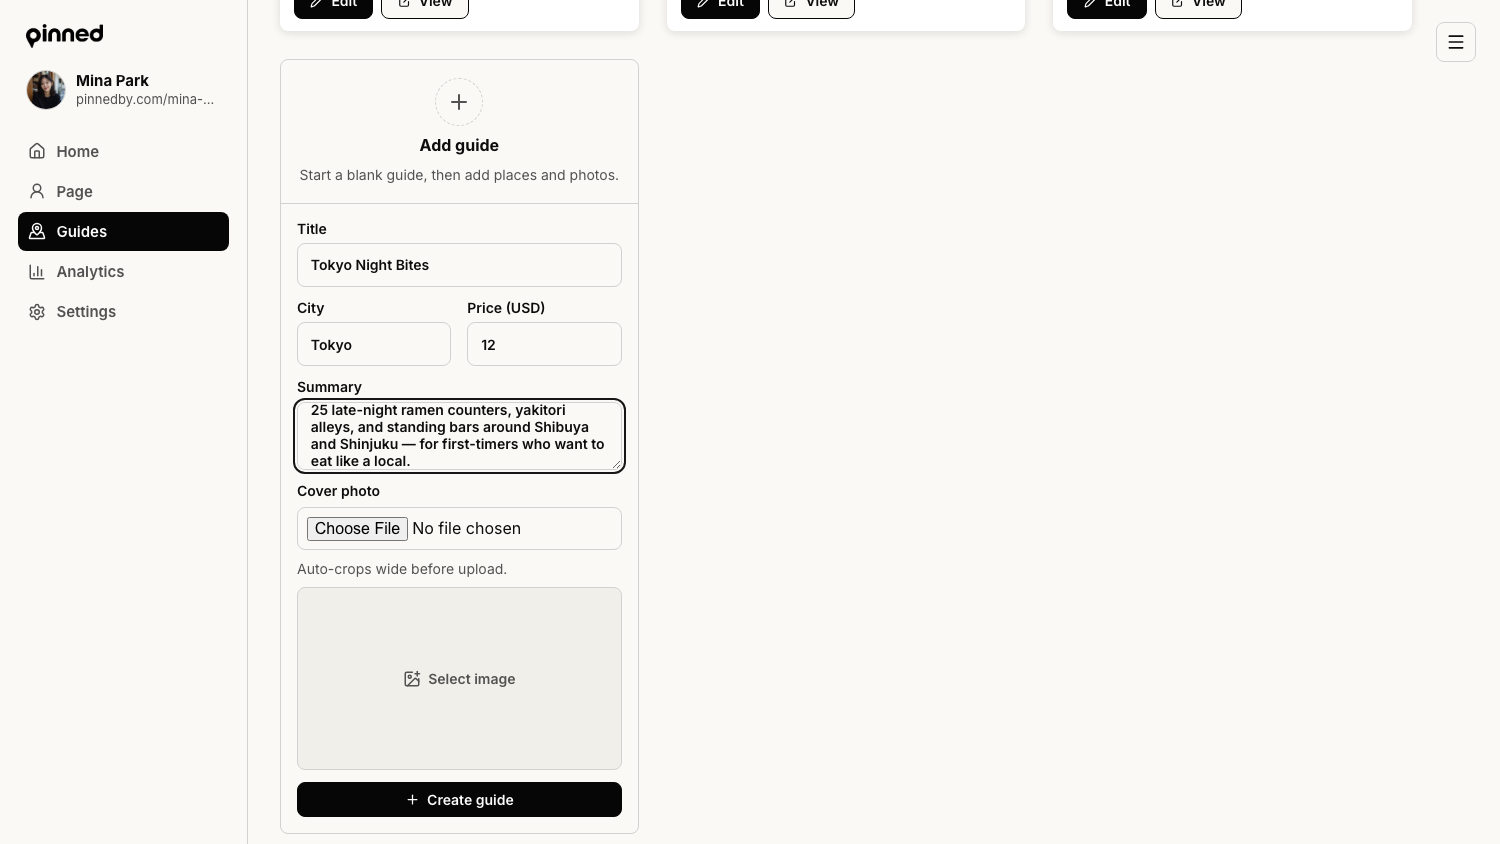
- Use a title that says exactly what the buyer gets, such as Tokyo Night Bites or Seoul Coffee Crawl.
- Enter the city buyers will recognize.
- Set an impulse-friendly first price, commonly $5 to $15 for focused beta guides.
- Write a short summary that names the audience and use case.
Add a cover image
The cover photo is the first visual proof of taste on the public page.
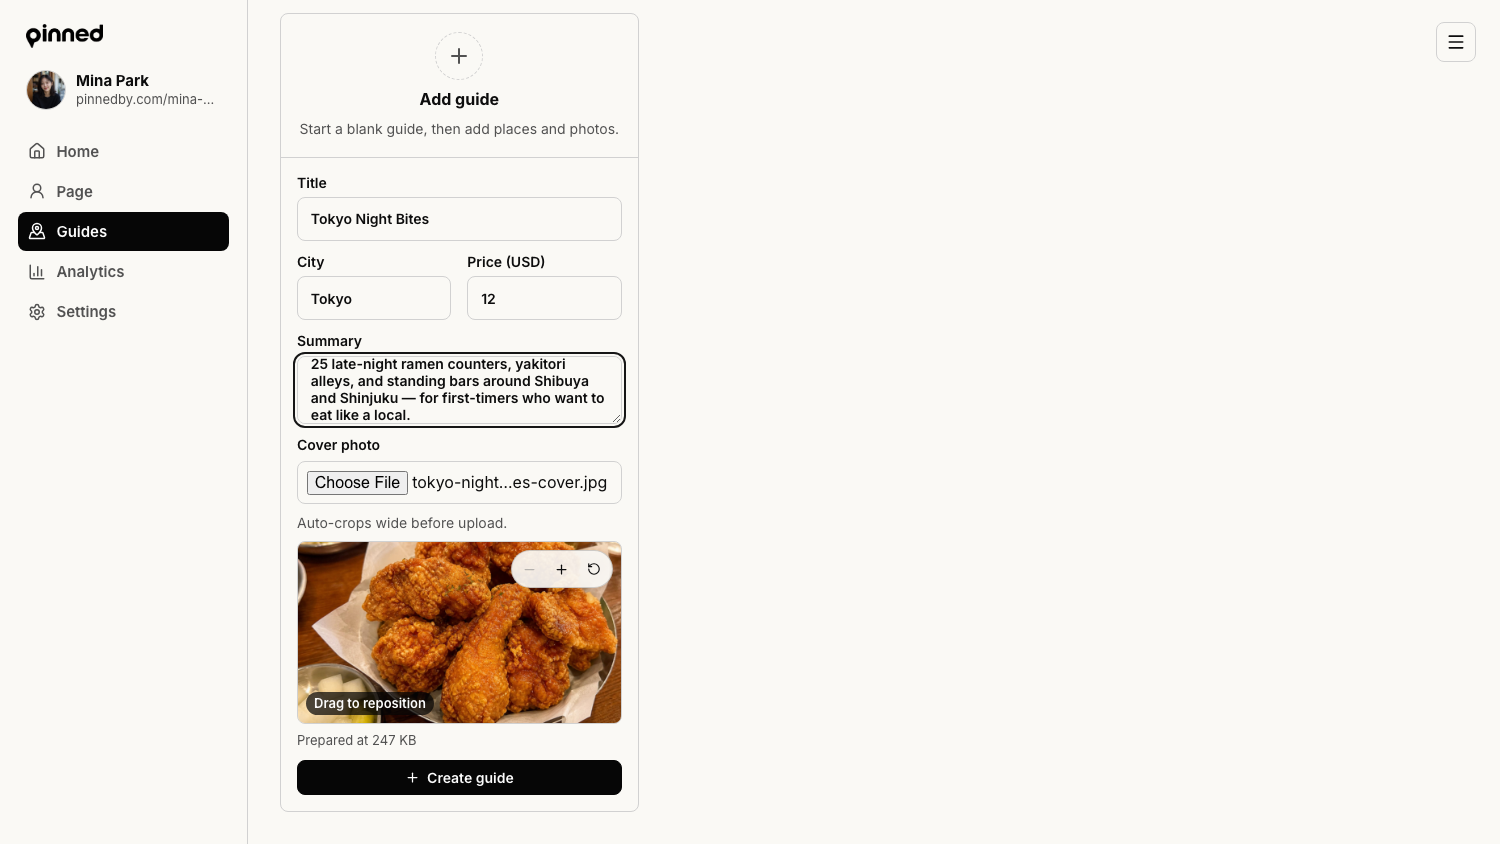
- Upload a clear city, food, cafe, hotel, nightlife, or shopping image that matches the guide.
- Avoid dark, blurry, or generic travel stock.
- Click Create guide.
- Open the draft editor after the guide is created.
Use a real image buyers can inspect, not a decorative background.
Done when
The guide title is specific enough to share in one sentence. The summary explains who the guide is for. The price and cover image are set before publishing.